You can download pdf version of this guide:
Avazilla is very easy to use and does not require any coding knowledge or skills.
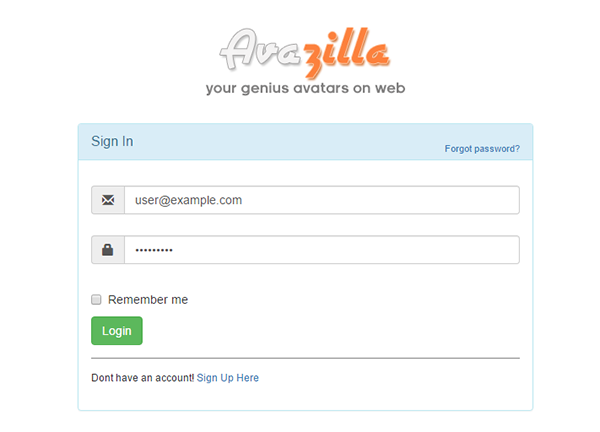
First, we log into the system through the Login screen.
In order to do that, after clicking on the Login link, we type our user name and password, and then click on the Login button.
Once we log in, our Dashboard will appear on the screen.
On our Dashboard we are able to see the number of campaigns that we have launched and also the numbers of our message groups under each of those campaigns.
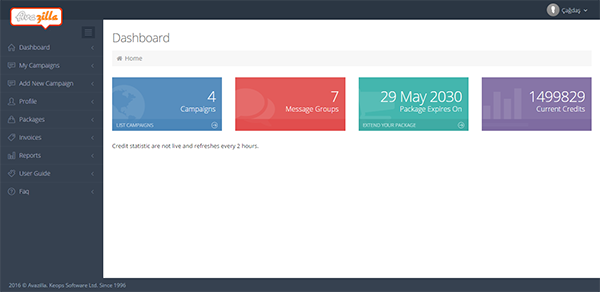
On this Dashboard screen we can also see the date of expiry of our current Avazilla subscription and the number of our remaining credits.
Let’s create a new campaign right away.
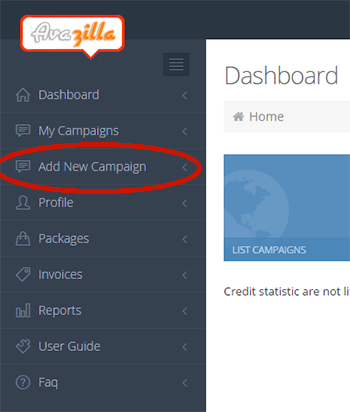
For that purpose, we click on the “Add New Campaign” link which is on our menu. On the screen that appears next, we will determine the general settings of the campaign that we want to create.

We type our domain.
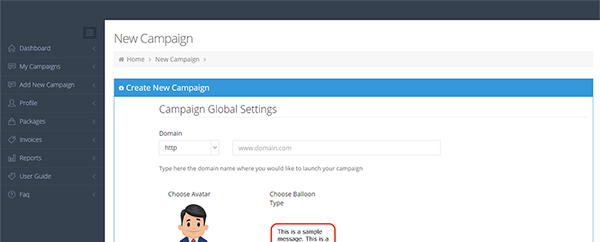
We select the avatar that we want to use via the “Choose Avatar” link.
![]()
Likewise we select the appropriate type of balloon for our web site via the “Choose Balloon Type” link.

“Let’s not forget that we can change the campaign settings as we like and at any time we want.”
If you have an avatar of your own, we can type the link where our own avatar is located into the box where it says “Or use your own avatar“. Otherwise we will leave this box blank.
![]()
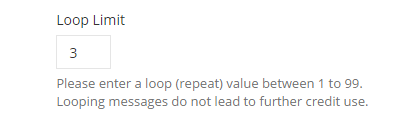
We set the number of times that our message will be looping by setting our “Loop Limit” (It has been set as 3 by default). The messages that loop once they are already shown for the first time will not reduce your remaining number of credits.
Next we choose the part of the screen where we want our avatar to appear. I select the bottom-right part. You are free to make your choice as you like.
![]()
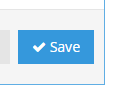
Now that we have already completed the general settings, we click on the “Save” button.
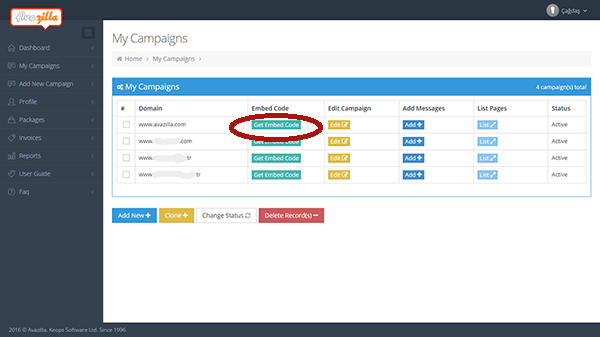
The screen that appears next is the one where our campaigns are listed.
By clicking on the “Get embed code” button, we can now copy our ready embed code and paste it into the footer of our web site, right prior to the </body> end tag (in the same way that it is done in the case of Google Analytics code).
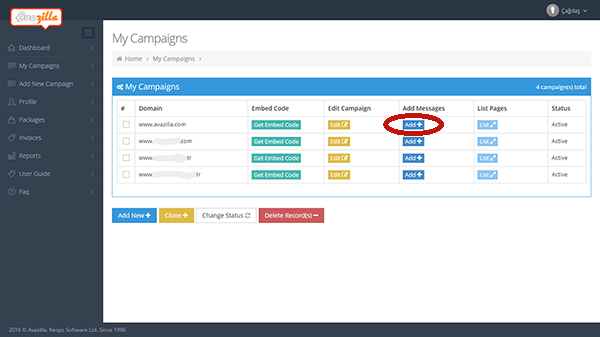
As we still haven’t any message groups, let’s begin creating our message groups right away.
We click on the “Add” button.
The screen that now appears is the one where we will type our messages that will be shown in the speech balloons on our web site afterwards.
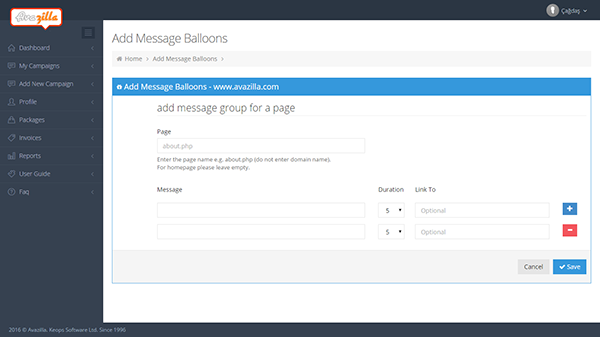
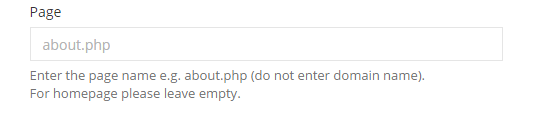
We type the name of our page. We definitely aren’t supposed to type our domain name here, but simply the name of the page only (such as: about.php).
In the message space, we form our messages. By clicking on the + button, we can add up to 15 different messages to each of our message groups.
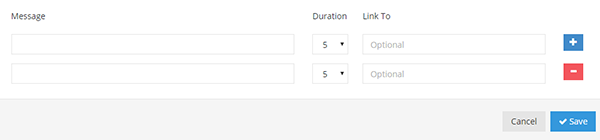
Once we are done with writing our message, we adjust the length of time that our speech bubble will remain on the screen of our web site’s visitor by using the “Duration” drop down menu. This has been set to 5 seconds by default. You are free to change it as you like.
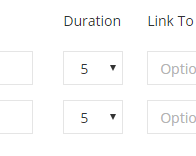
We can type a link into the “Link to” box if we want to (it’s optional).
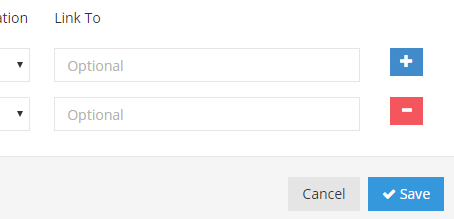
If we have already entered all of our messages, we can now save them by clicking on the “Save” button.
By repeating this step, you may add up to 1000 message groups for each of your campaigns.
If you have correctly added your embed code to your web site, your messages will automatically start appearing on your web site.
We thank you for using Avazilla.com